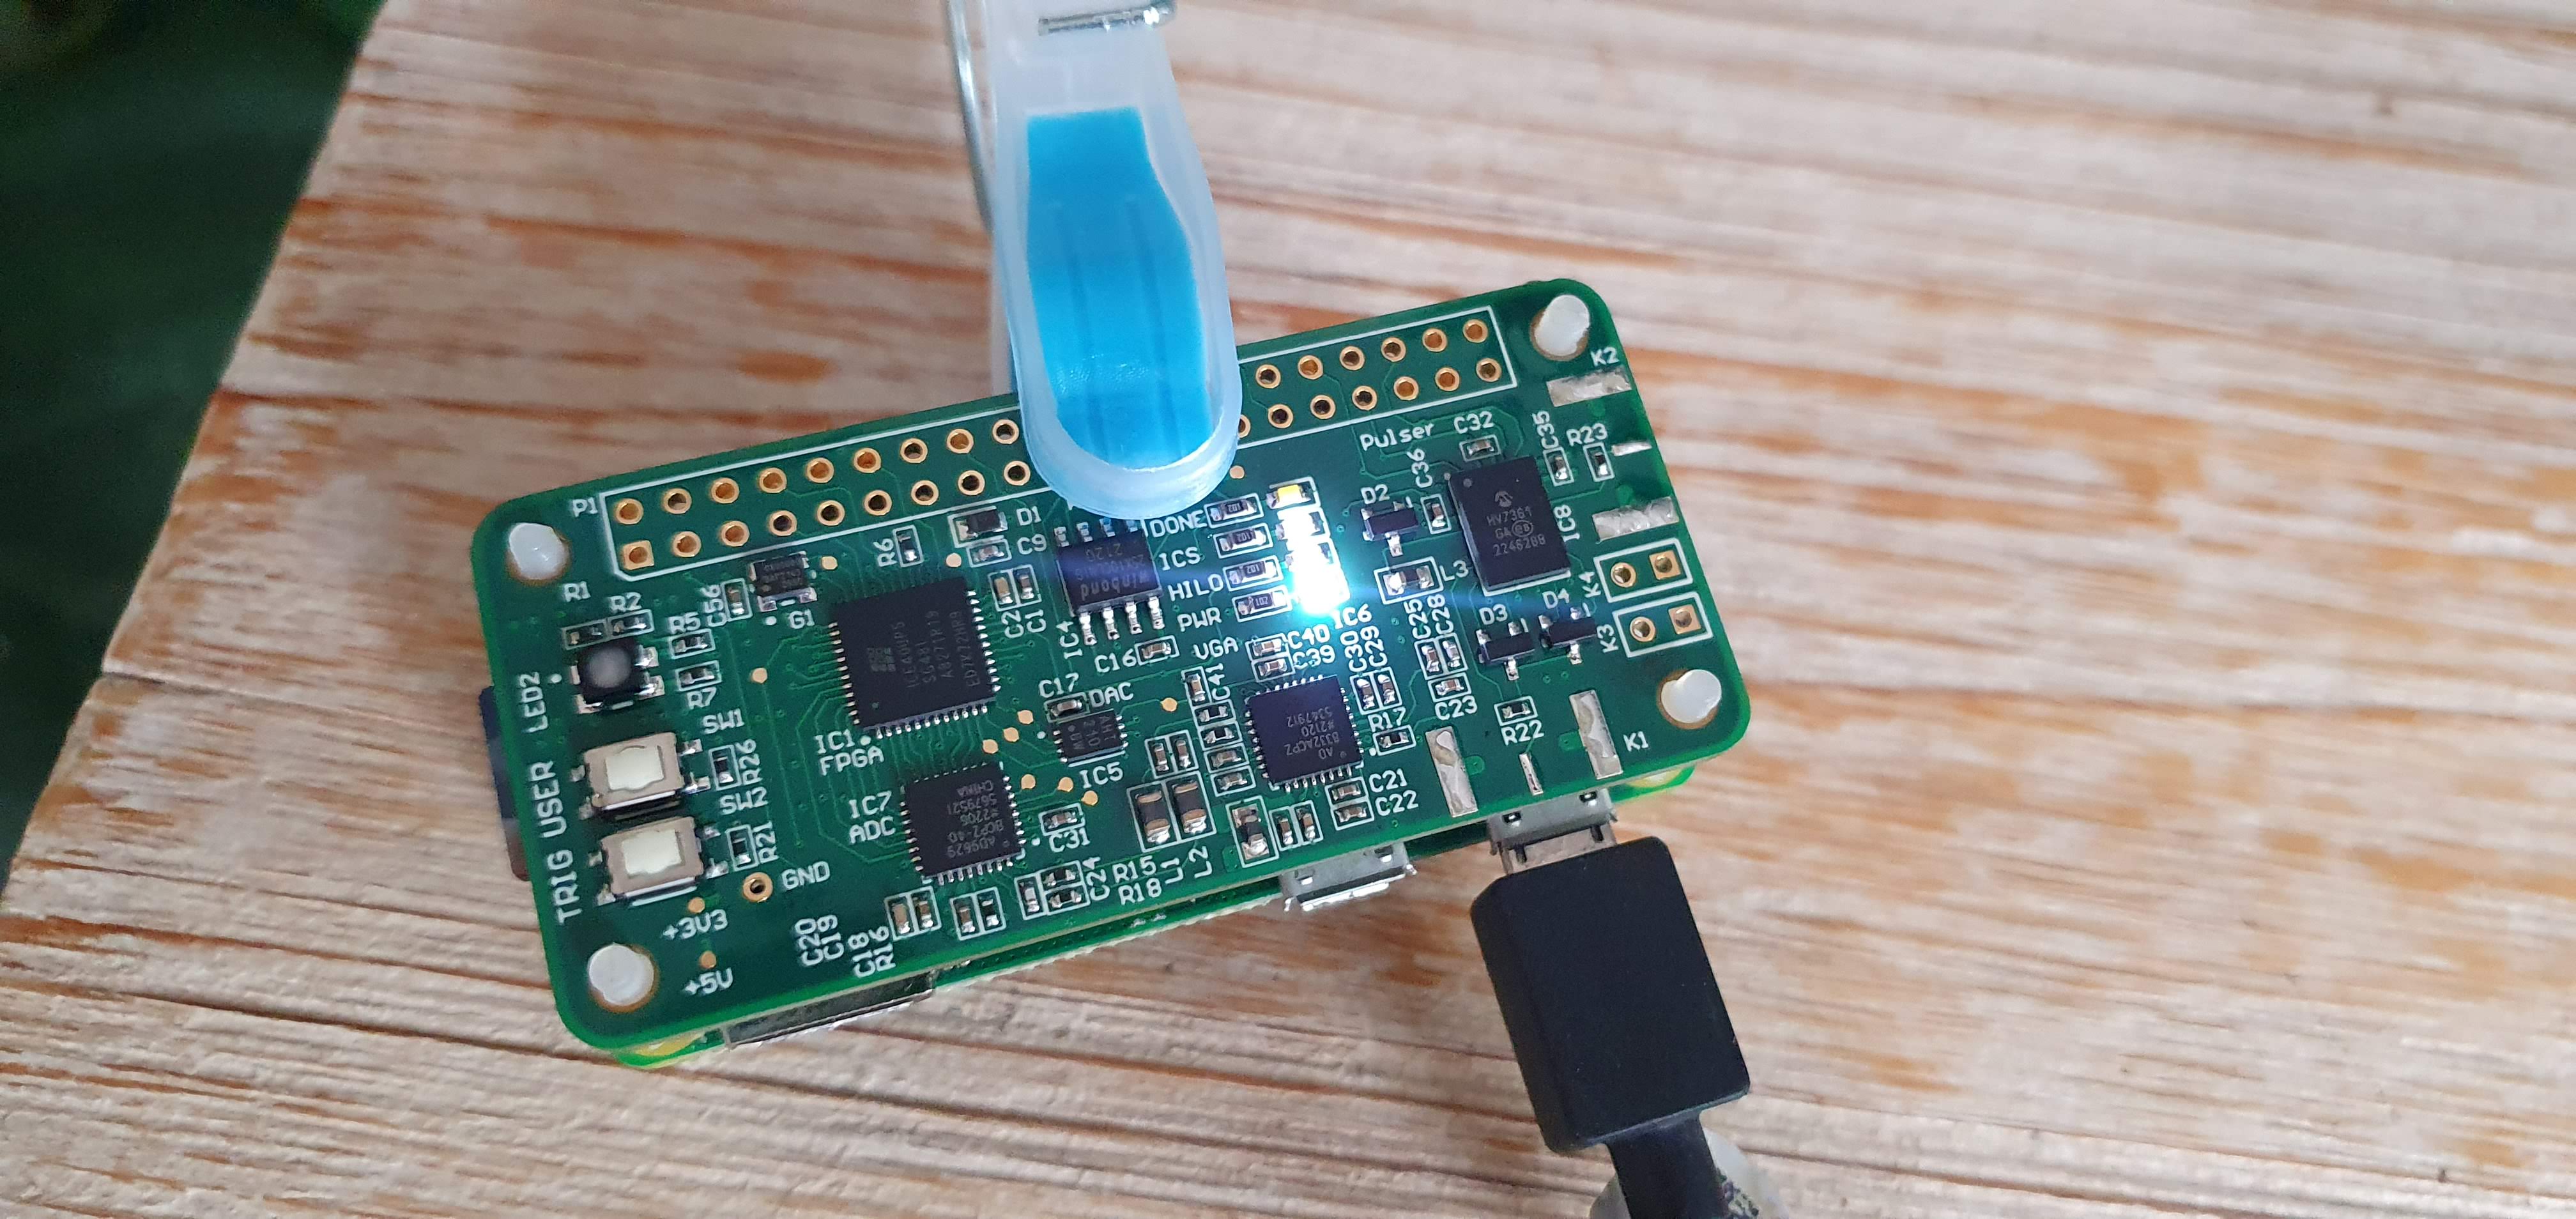
The up5k lit3rick open hardware ultrasound pulse echo board, with -28dB to 92dB gain
The lit3-32 is the younger sibling of the lit3rick board, and keeps the same principles.
Apart from shifting to AD8331 to AD8332 to have more gain, the source code / dev files are moved from upverter to altium, for ease of share. Because of more gain, the ADC goes from 12 bits to 10 bits. The form factor now is strictly a pHAT.
How to flash the board
Due to a simpler bom, there is no USB bridge (compared to say the un0rick). Therefore, the flash must be written. When using any raspberry pi, one can go to the programming tool folder and type make to compile the programmer, then make install to install it.
The “basic binary” to flash can be downloaded here.
One can use it afterwards to program either the flash, or the fpga ram. It takes far less time to program the ram, so a good choice to test.
Communicate with the board
When using the default, (very) basic binary, one can use python, see for example this acquisition test. It is relatively basic, allows the user to only set the gain, and then read values from the FPGA.
Tweaking the verilog
The basic binary mentionned before has been created using icestudio, a visual editor for FPGA programming. The icestudio project lives here: https://github.com/kelu124/lit3rick/tree/lit3-32/icestudio/lit3 .
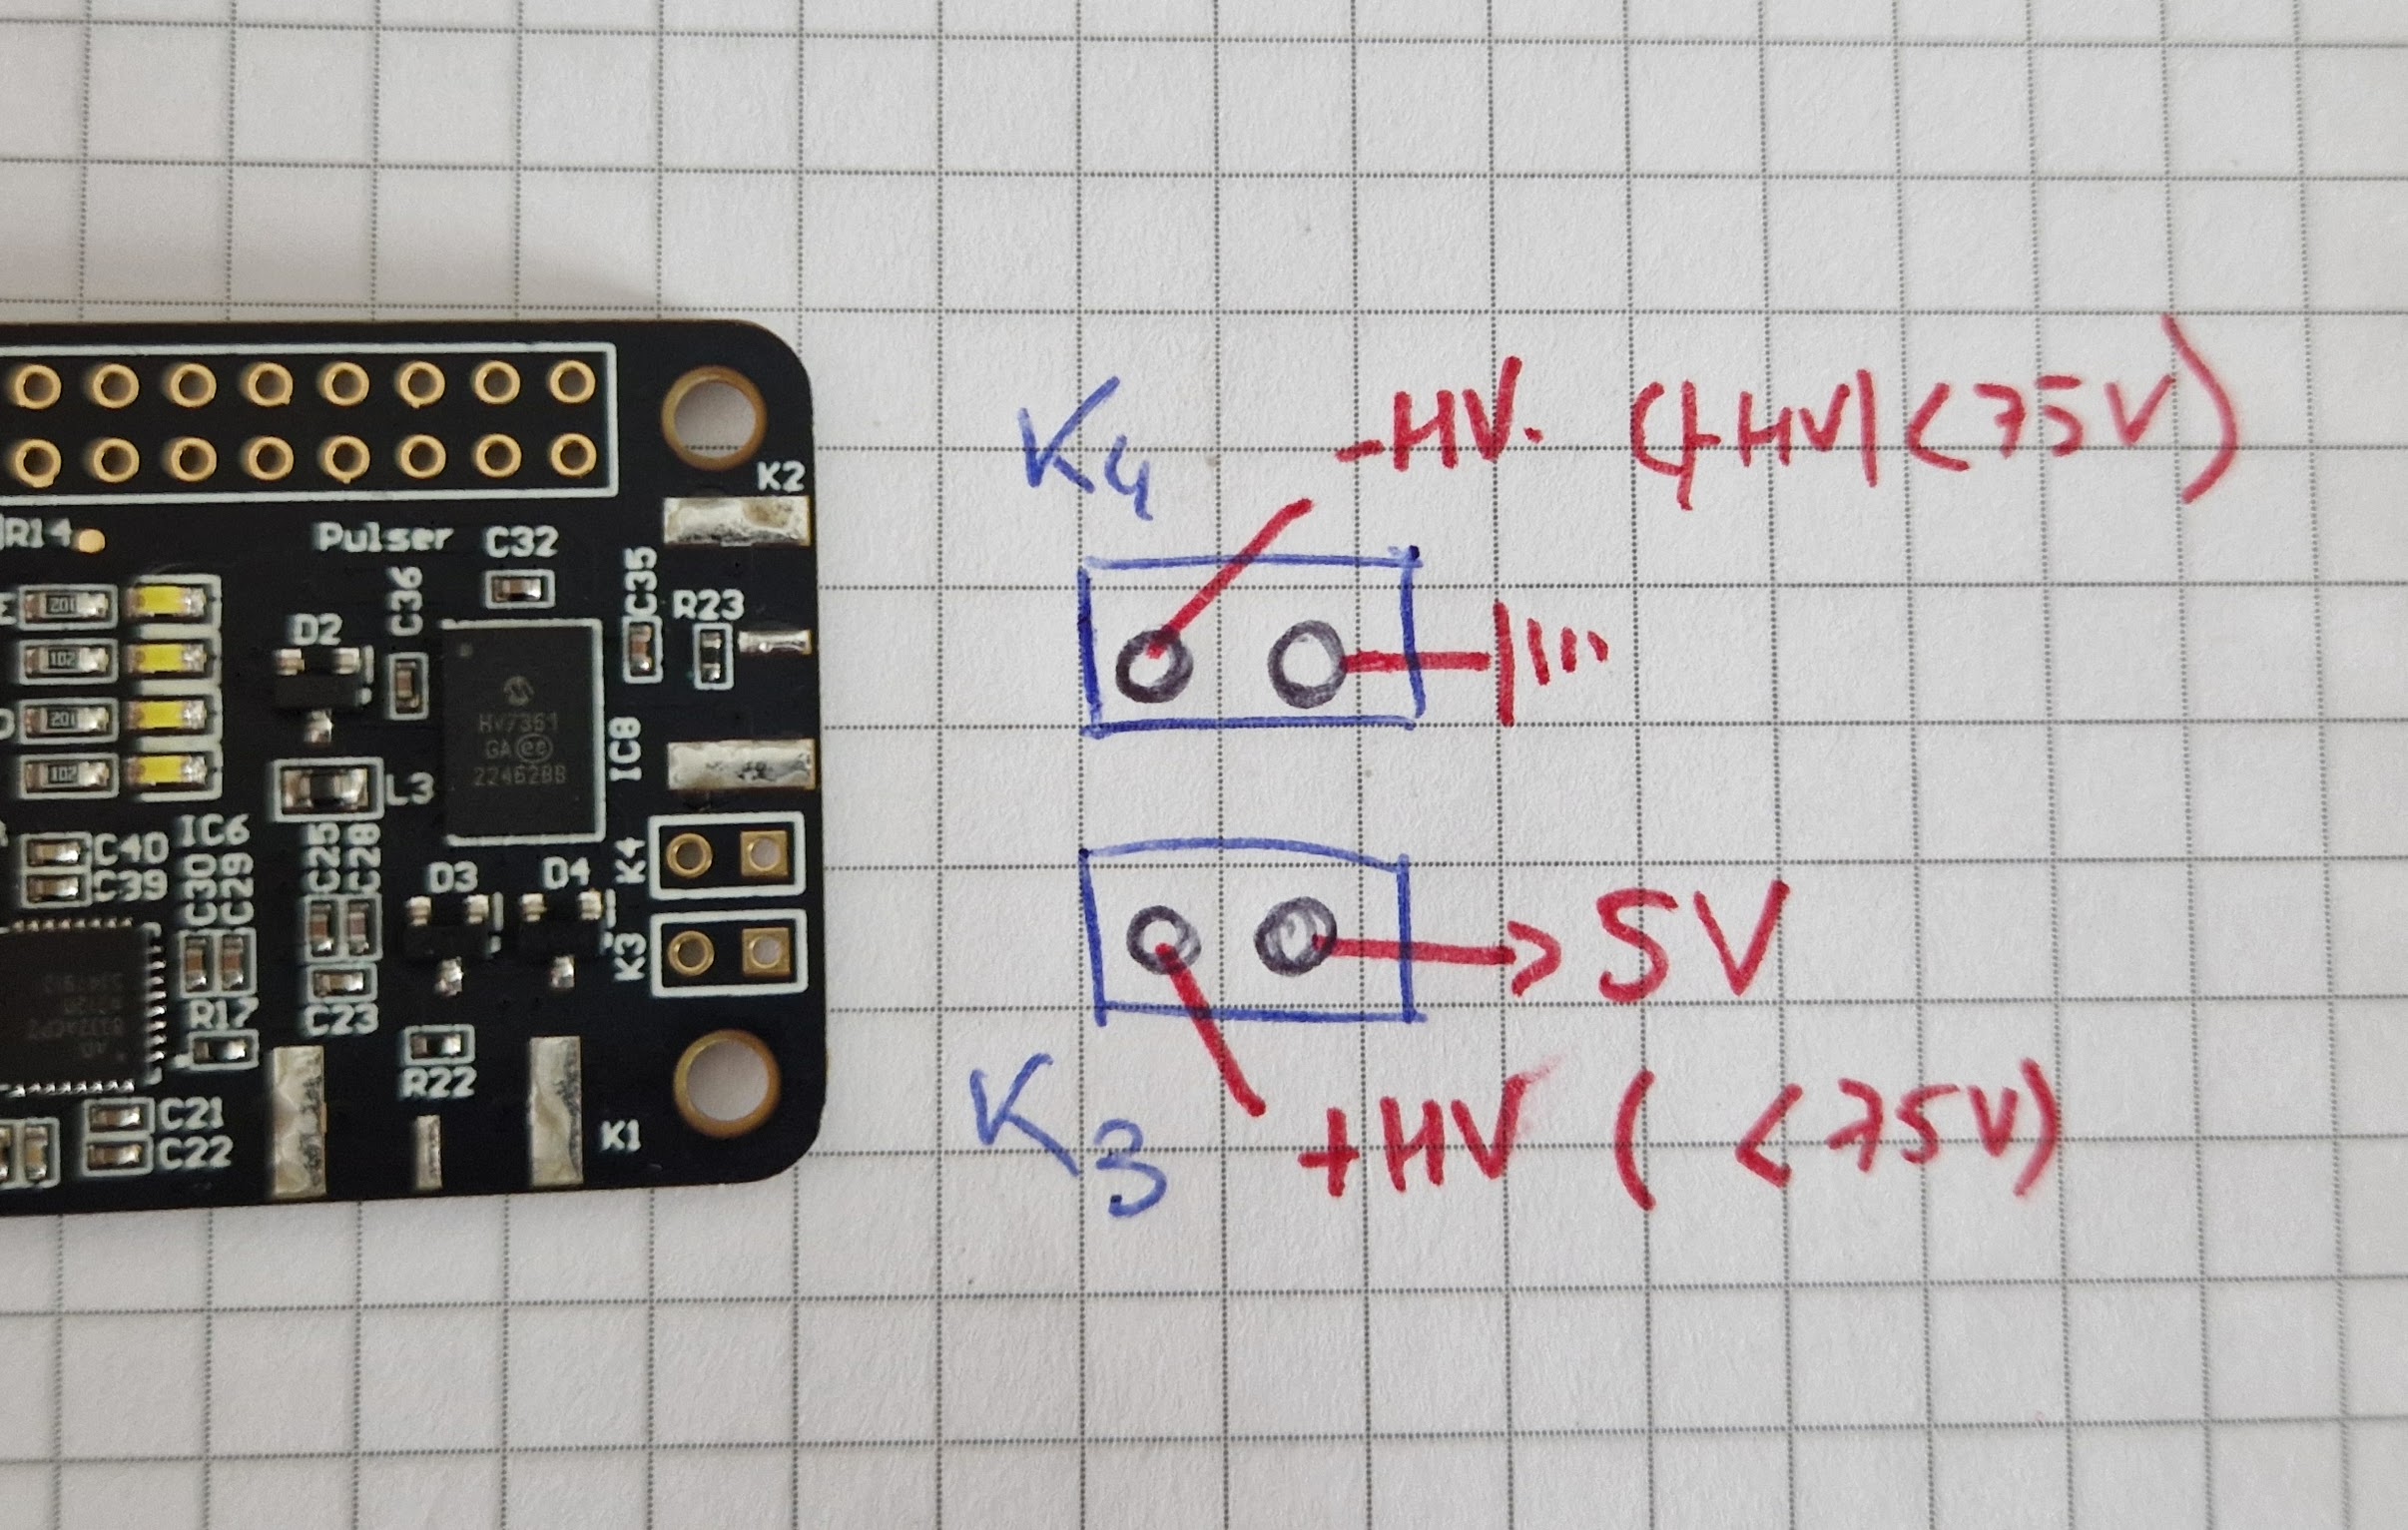
Using external voltage (tested up to +-75V)
Below is the connection for the external high voltage (HV) sources.
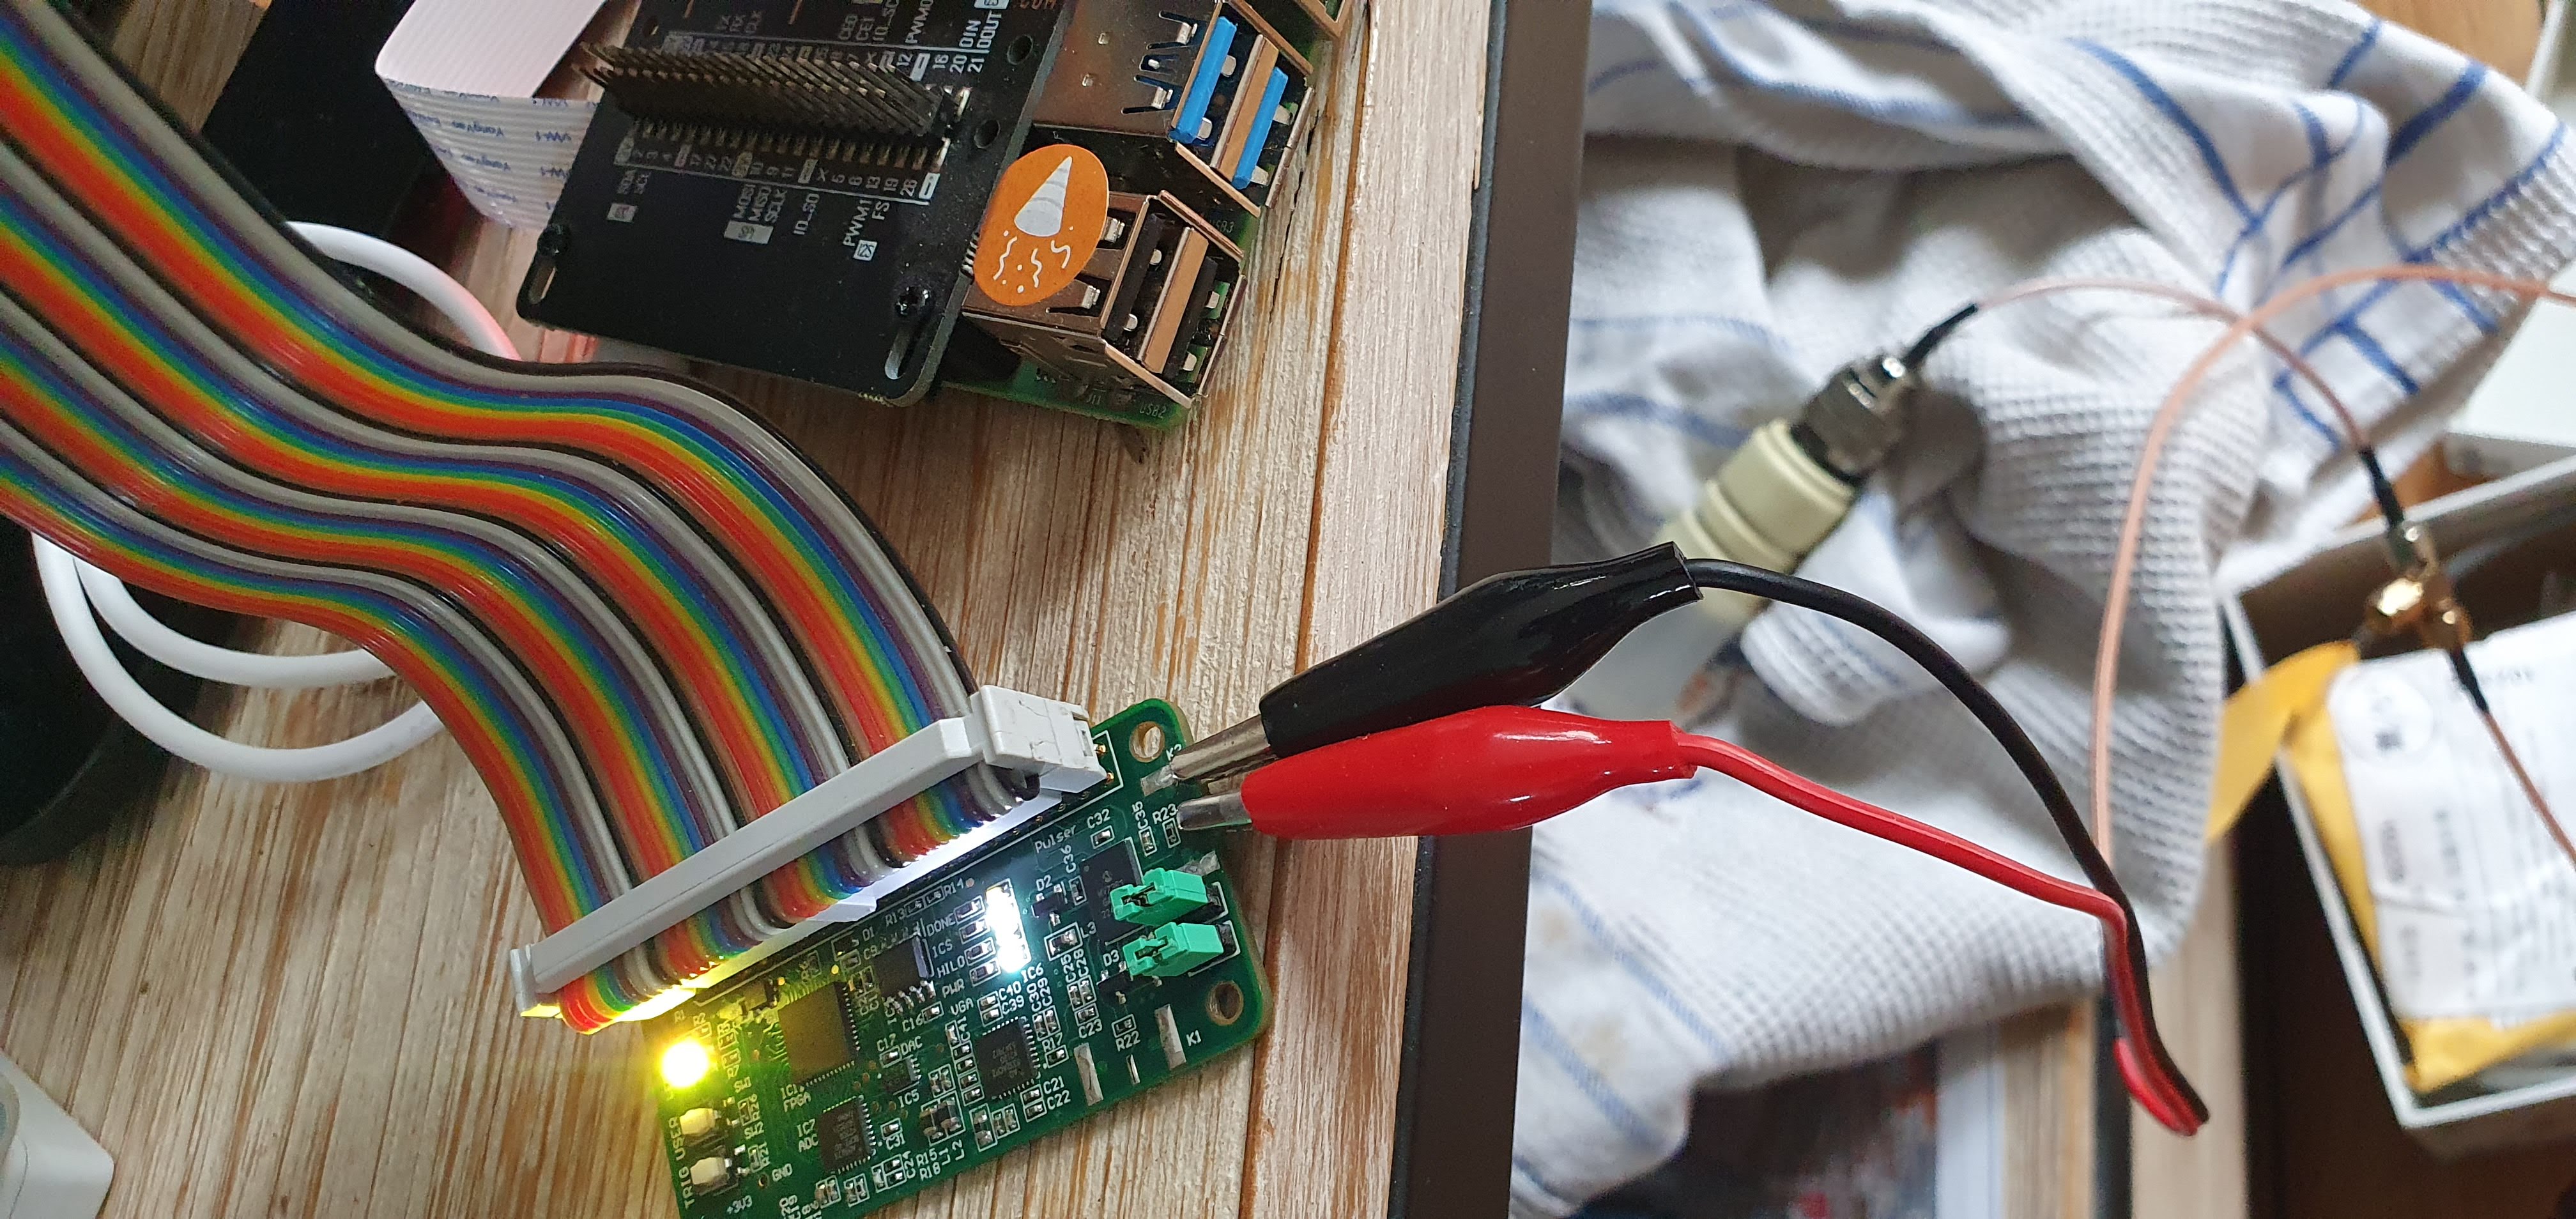
Physical setup
Experiments
I usually like to use a ribbon as below, so to use duplicated headers pins for debug.
QA tests
For QA tests, I use a raspberry pi zero with pogo pins, so to not have to solder any connectors:
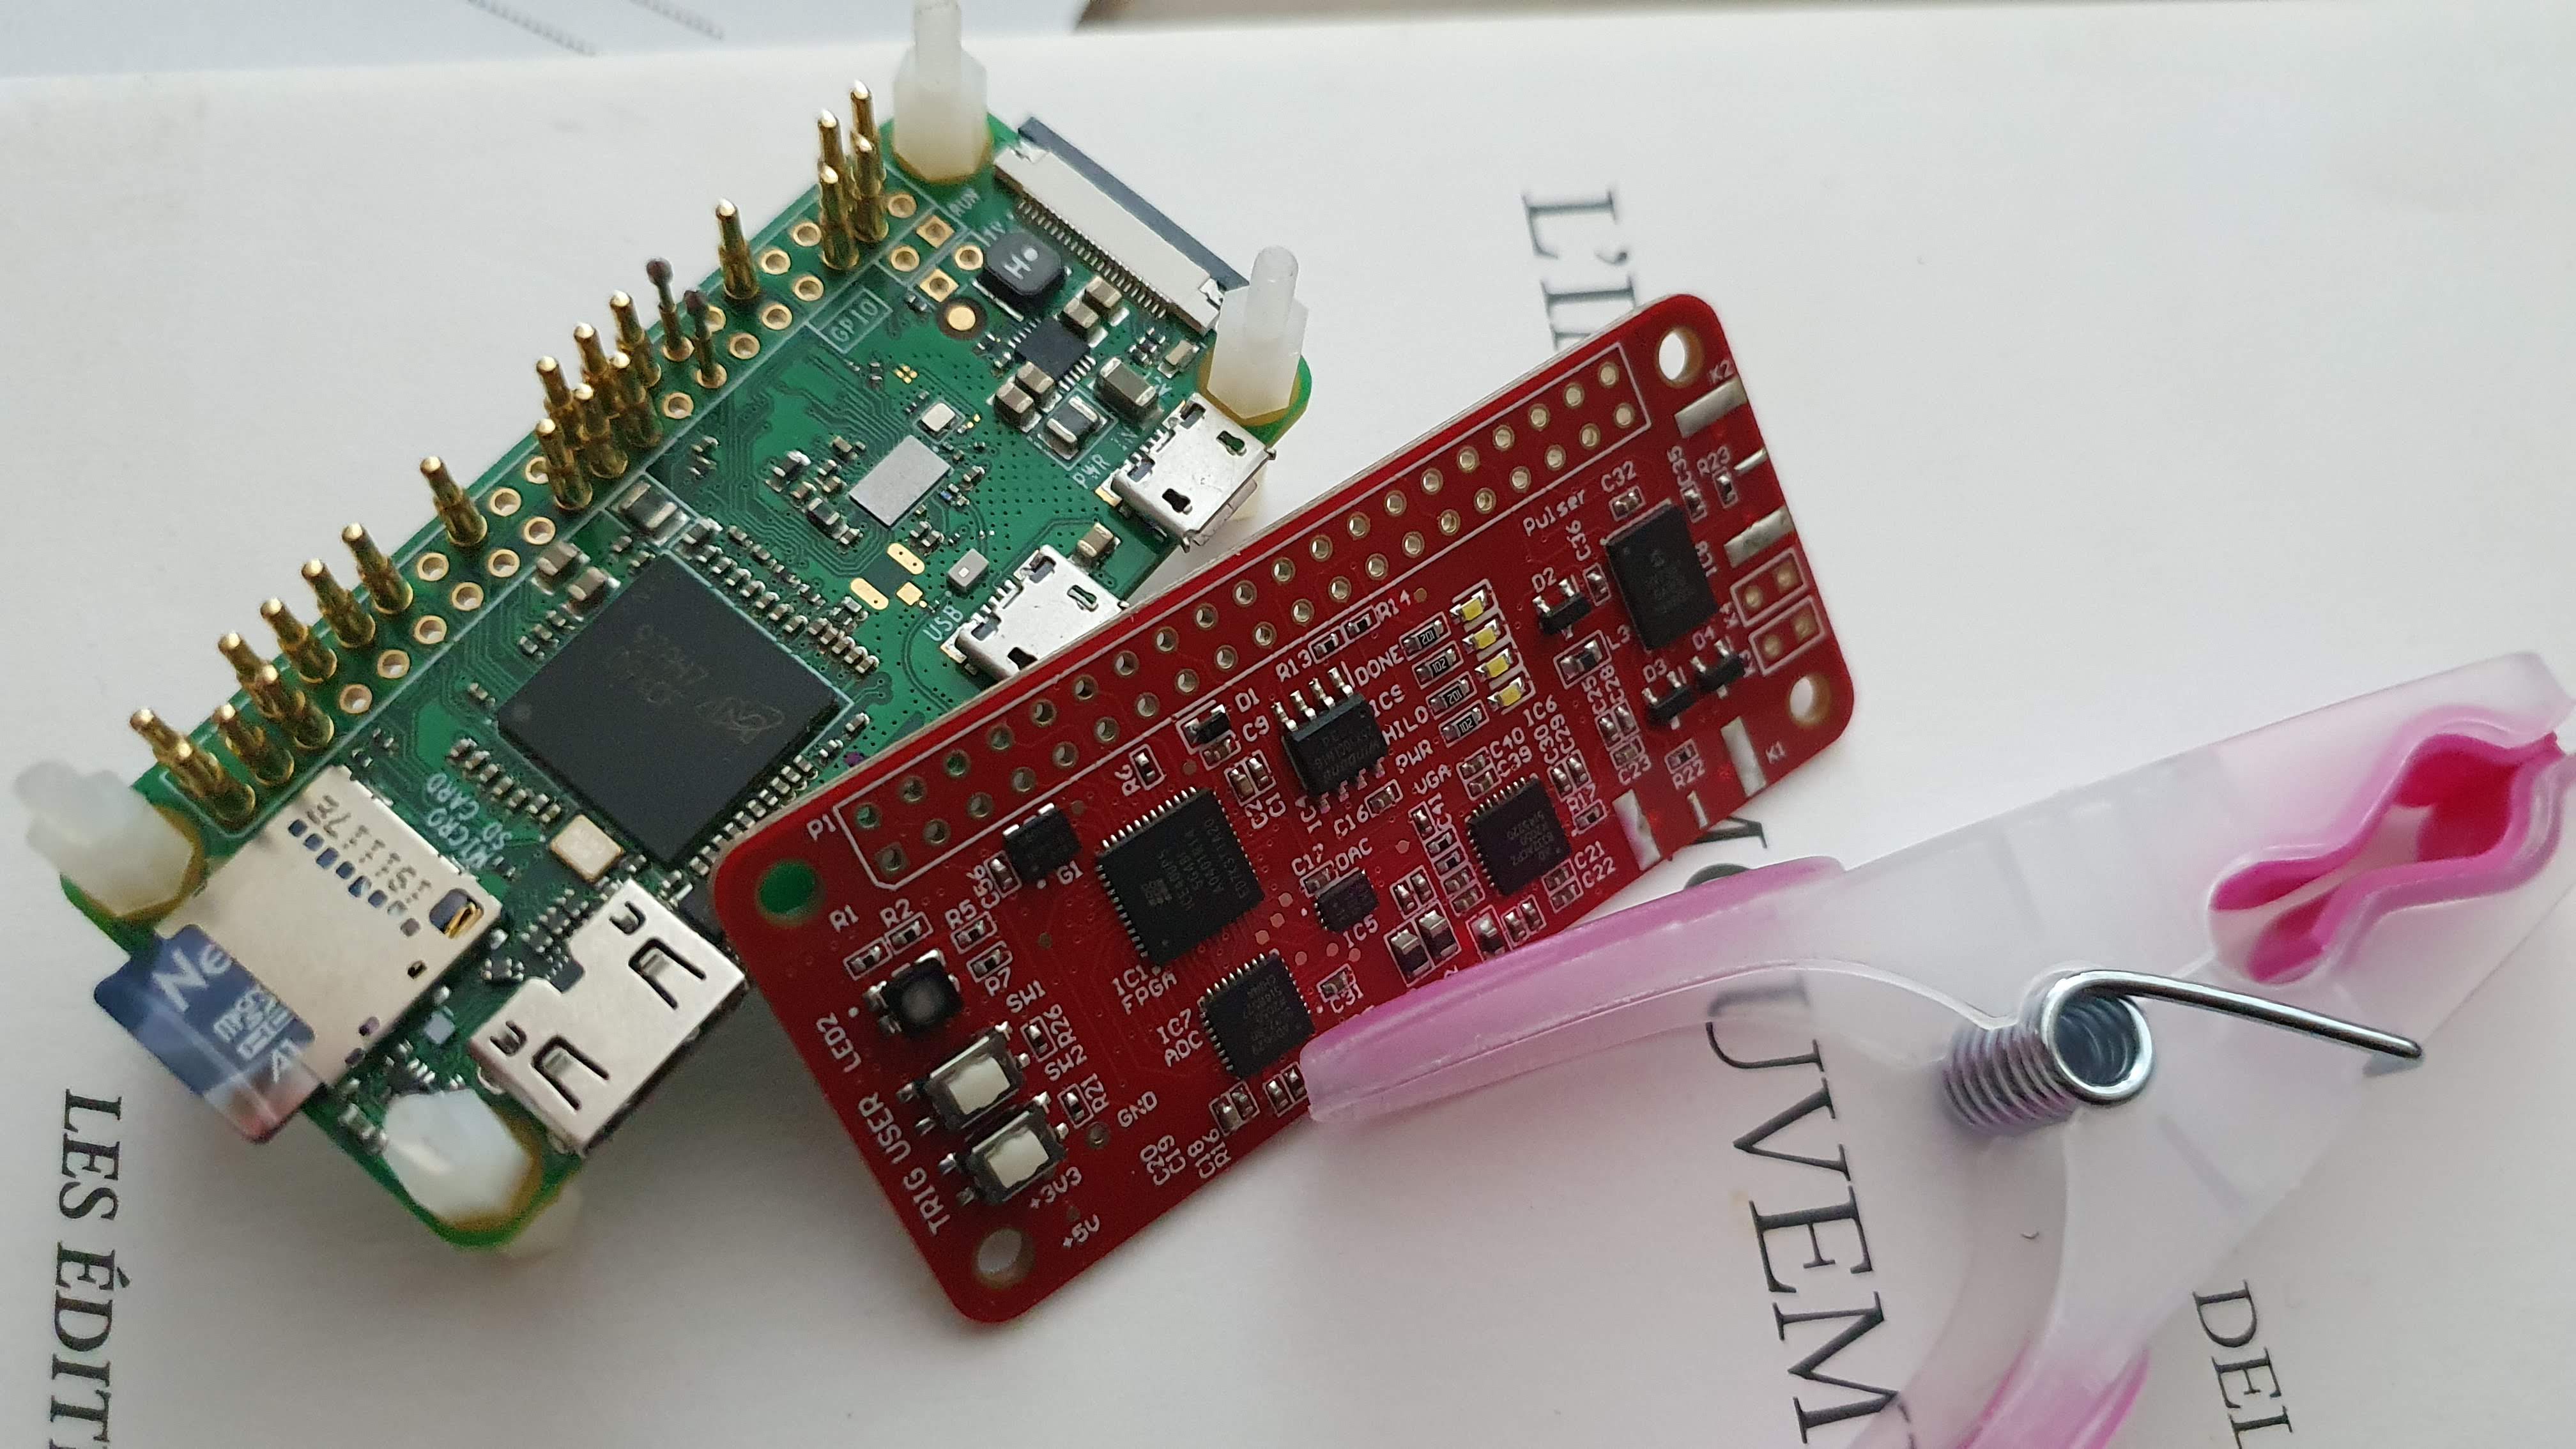
and use some pressure to keep it in place =)